words and photos LEEYONG SOO
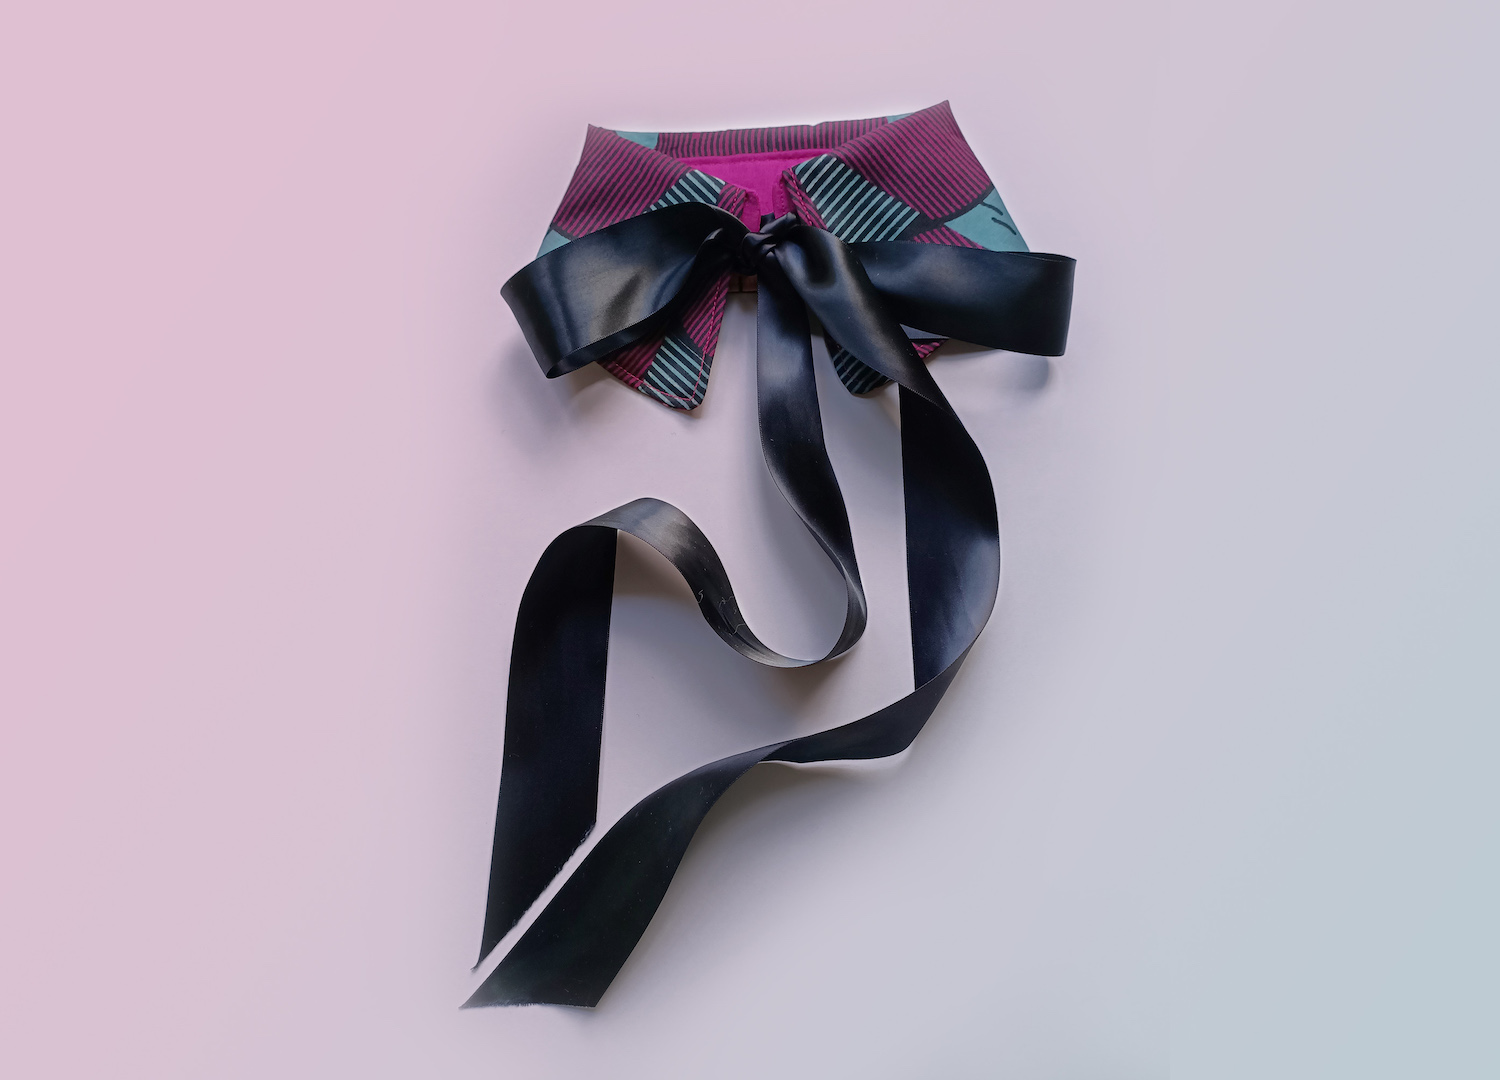
If you’ve paid any attention to the fashion world lately, you’ll have seen that collars are big news. More specifically, it’s the detachable collar that seems to feature in every fashion spread at the moment. From the white Puritan-styles that cover nearly the entire shoulder area, to sweet, lace-edged Peter Pan collars and gingham with ruffle trims, the fashion set seems to be working overtime to ensure no neckline is left behind.
The good news, if you want to try this trend, is they’re relatively easy to make and don’t require much fabric, so if you have bits leftover after making something else, it’s likely you won’t need to buy anything to make your own! They can also be made to be reversible, so that you get two collars in one – or even more, depending on how you style them.
What you will need
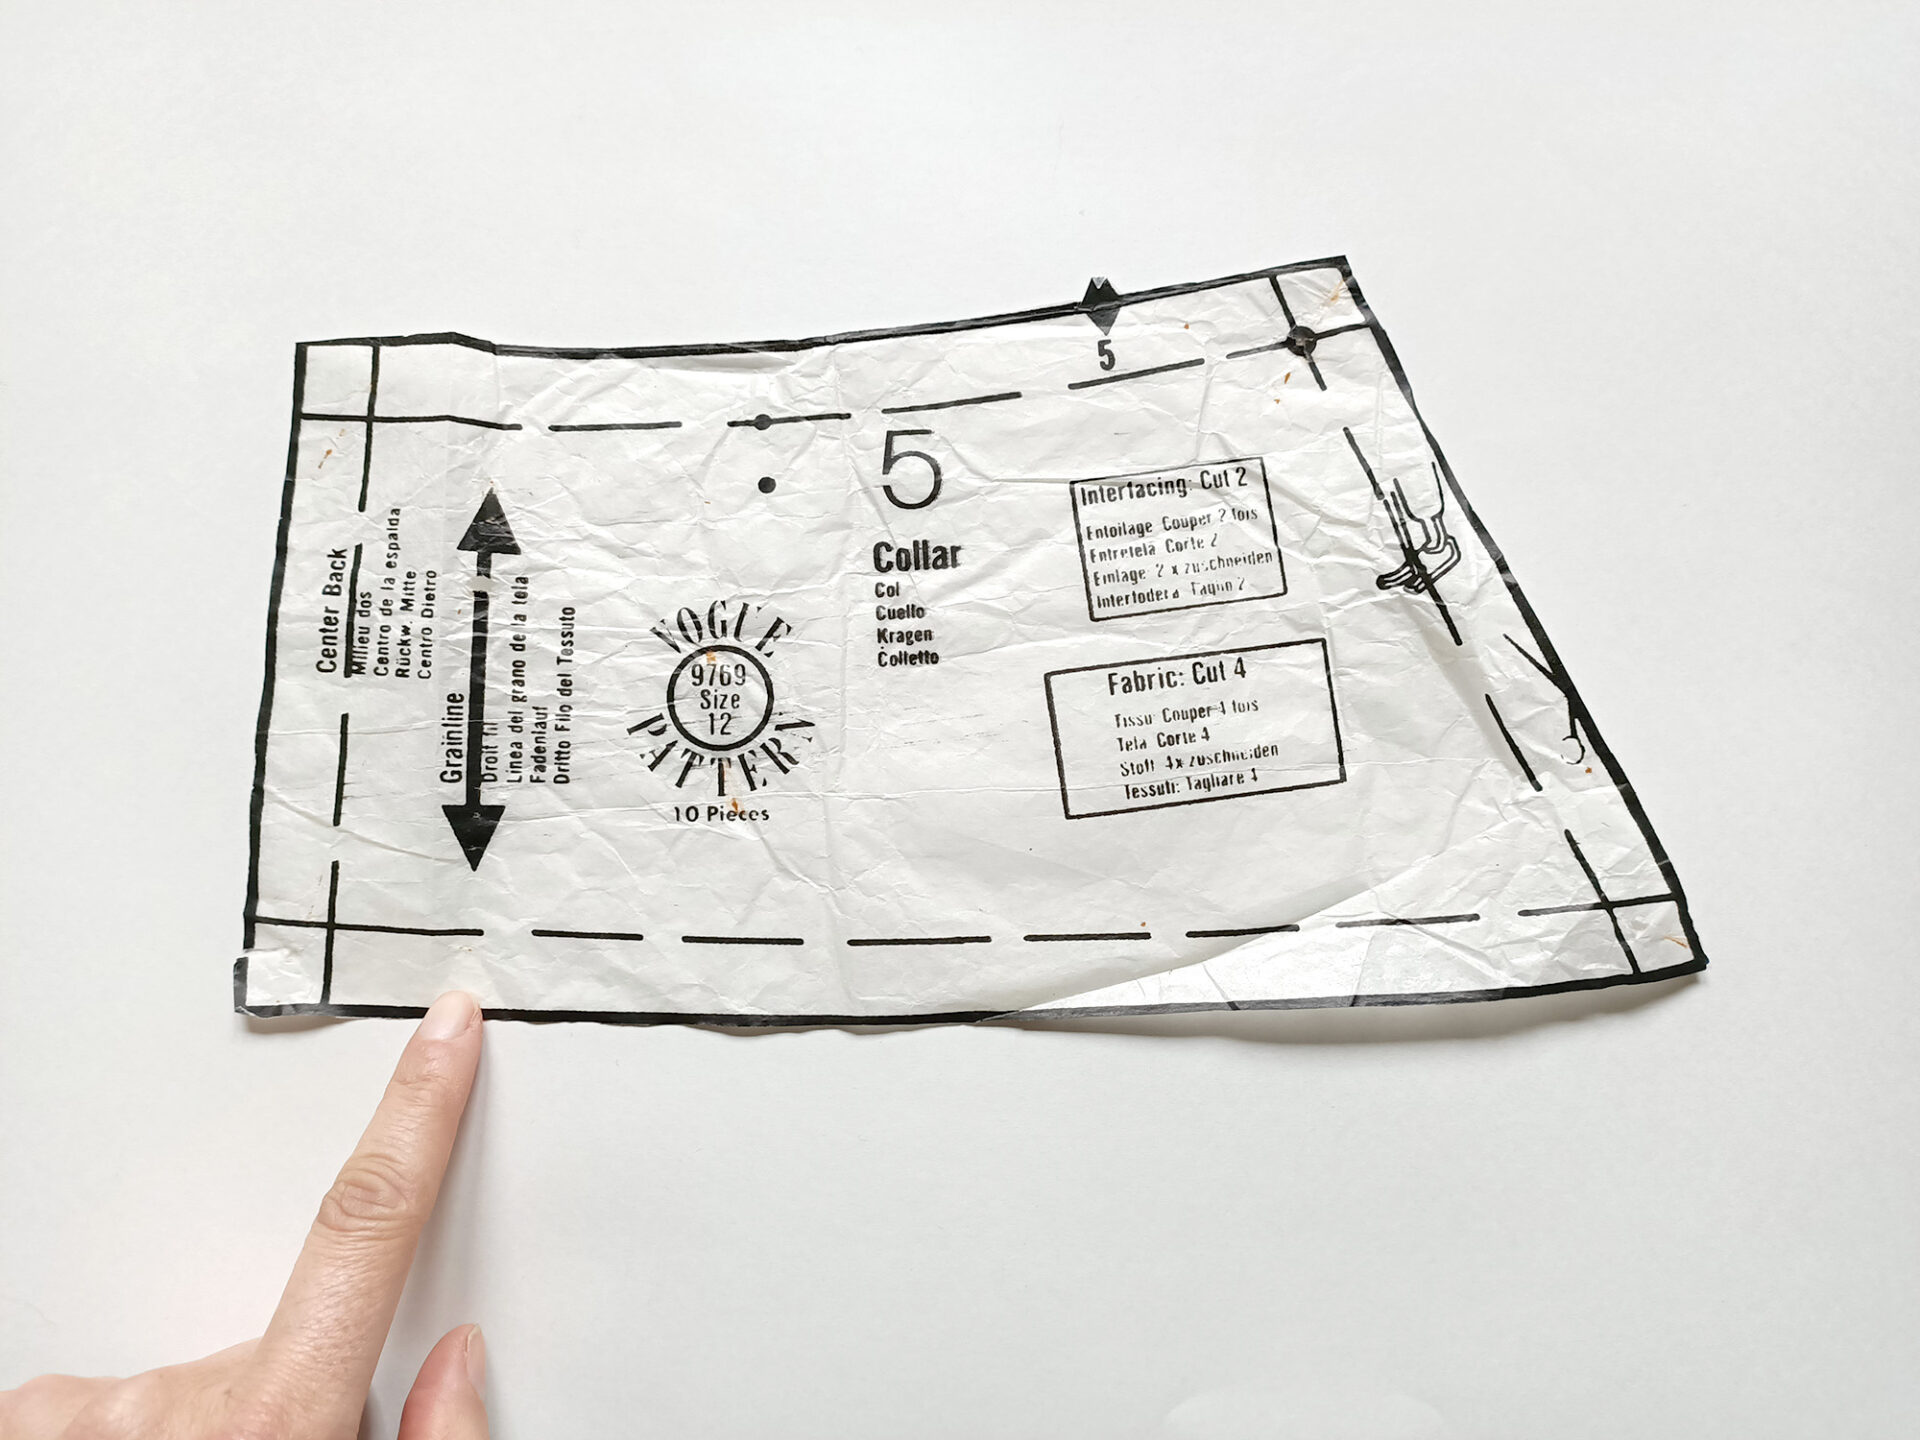
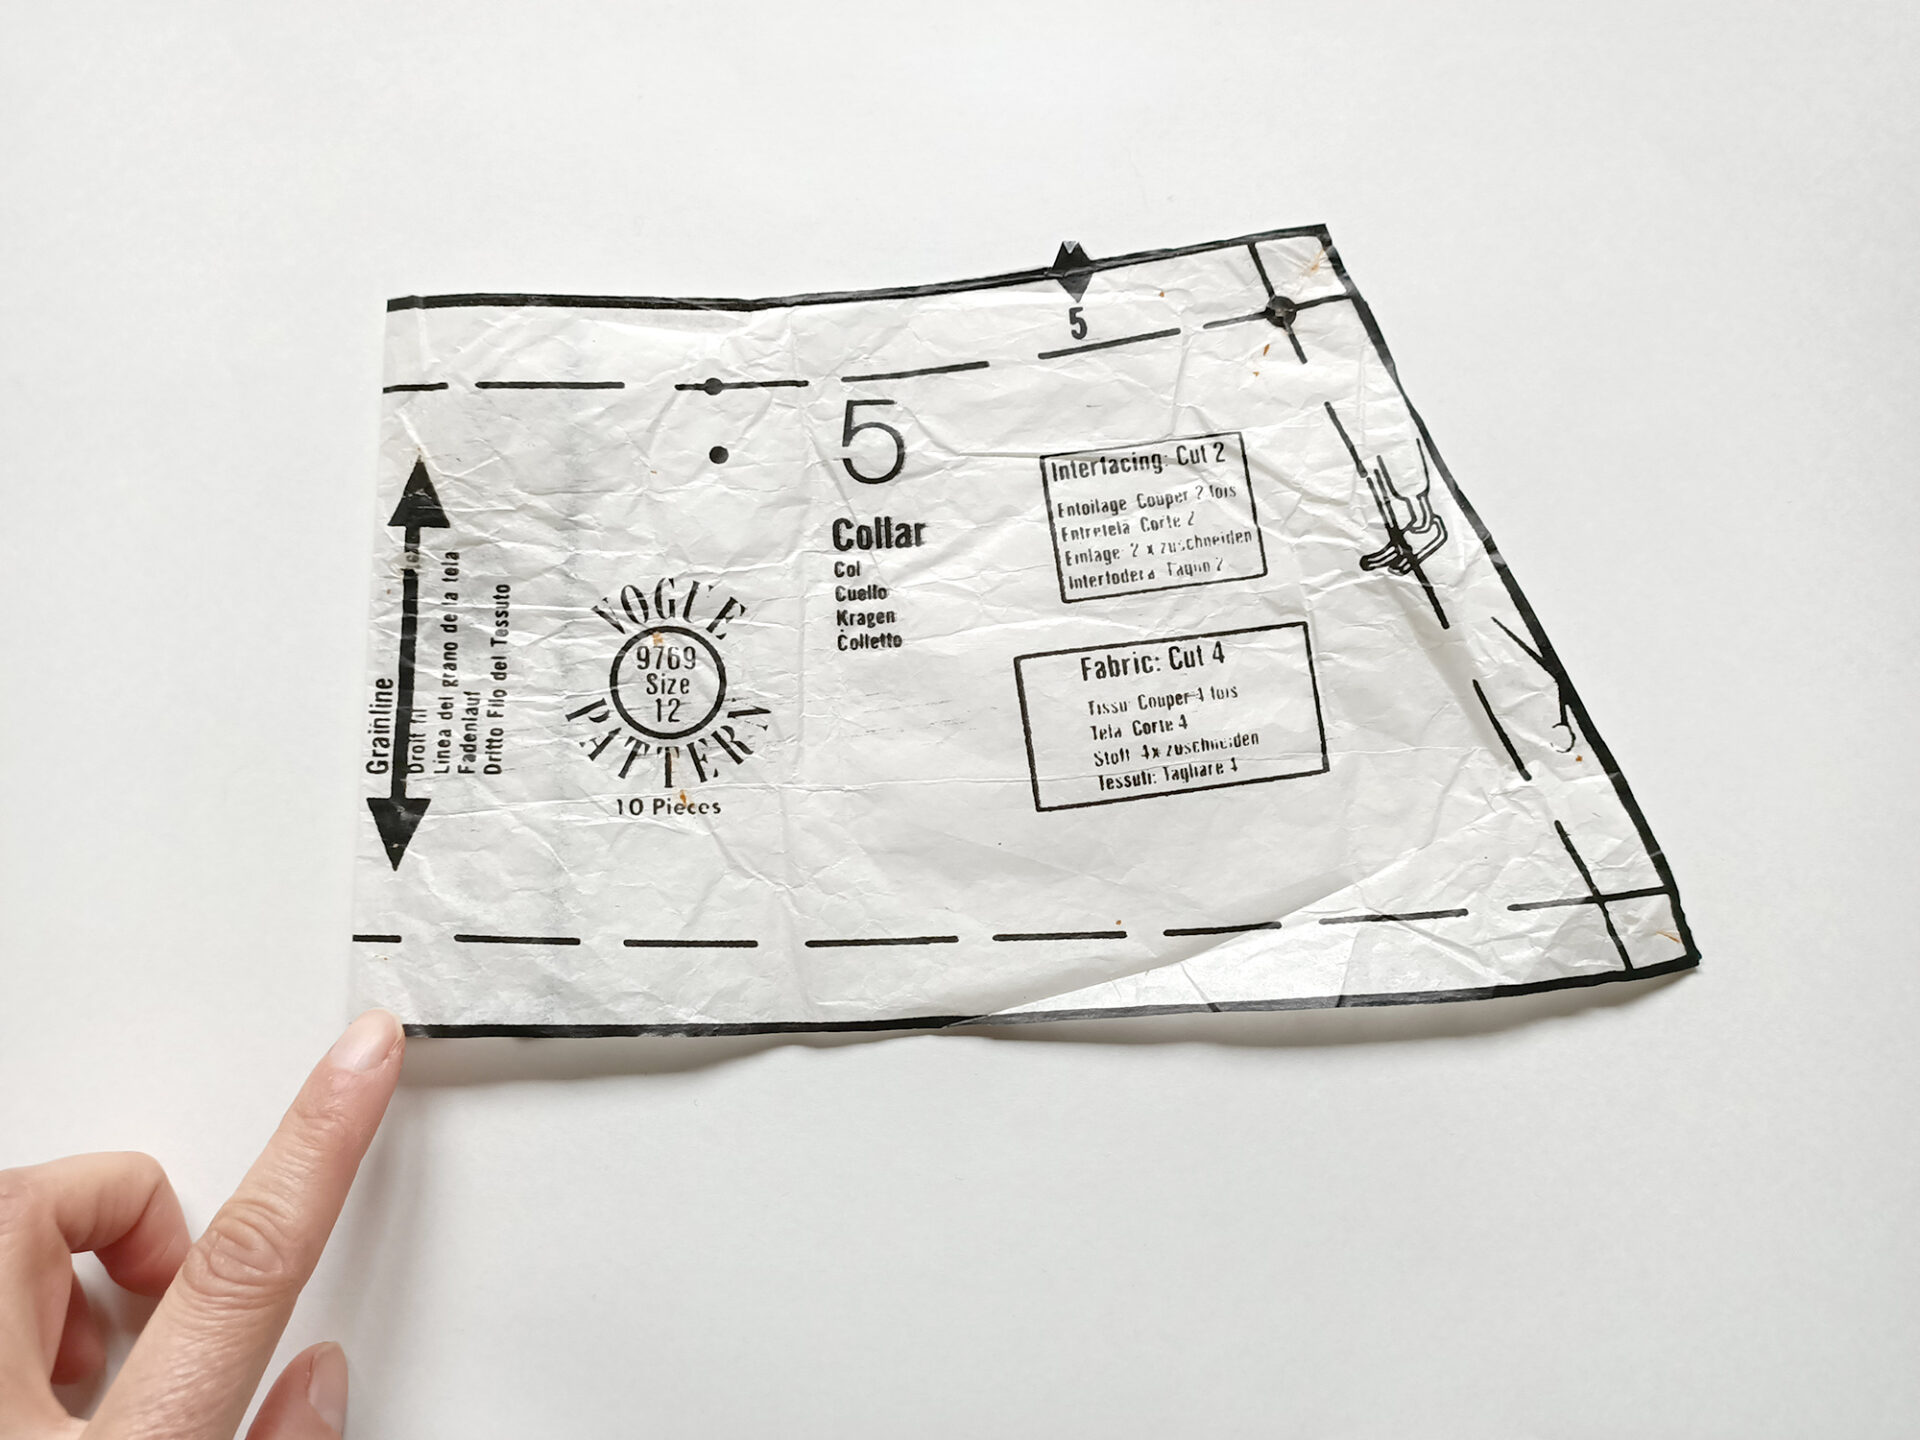
A sewing pattern for the collar. There’s no need to buy a brand new pattern specifically for this project as you can use the collar and neckband pieces from a pattern in your collection or find a pattern with a collar that you like in an op-shop. Alternatively, make your own pattern by opening out a collared shirt and tracing the shape of the collar and the neckband section (essentially an isosceles trapezium and a long rectangle!). Keep in mind that you will not be buttoning this collar to fasten it, so the ends of the neckband should not quite meet when you put it around your neck. This may mean you need to make both the collar and the band shorter than the pattern pieces. Taking about 3cm off the centre back of the pattern pieces should do the trick (that is, instead of cutting at the centre back line, cut 3cm in from there). It’s better for the finished collar to be too small than too big because the ribbon threaded through will bring the ends of the neckband together anyway. It’s also relatively simple to slightly alter the ends of the collar by making them rounded rather than sharply pointed, so cut according to your taste.
Fabric – two pieces roughly 50cm wide and 15cm long for the collar section and one piece roughly 10cm wide and 40cm long for the neckband section.
Interfacing – roughly the same amount as the fabric.
Thread in the same colours as the fabric, or in a contrasting shade if you prefer.
Scissors.
Pins.
Sewing machine (or needle, if making by hand).
Ribbon, leather thonging or a length of lightweight fabric to make the tie for the neck.
Let’s get making!
STEP ONE // Make the collar.
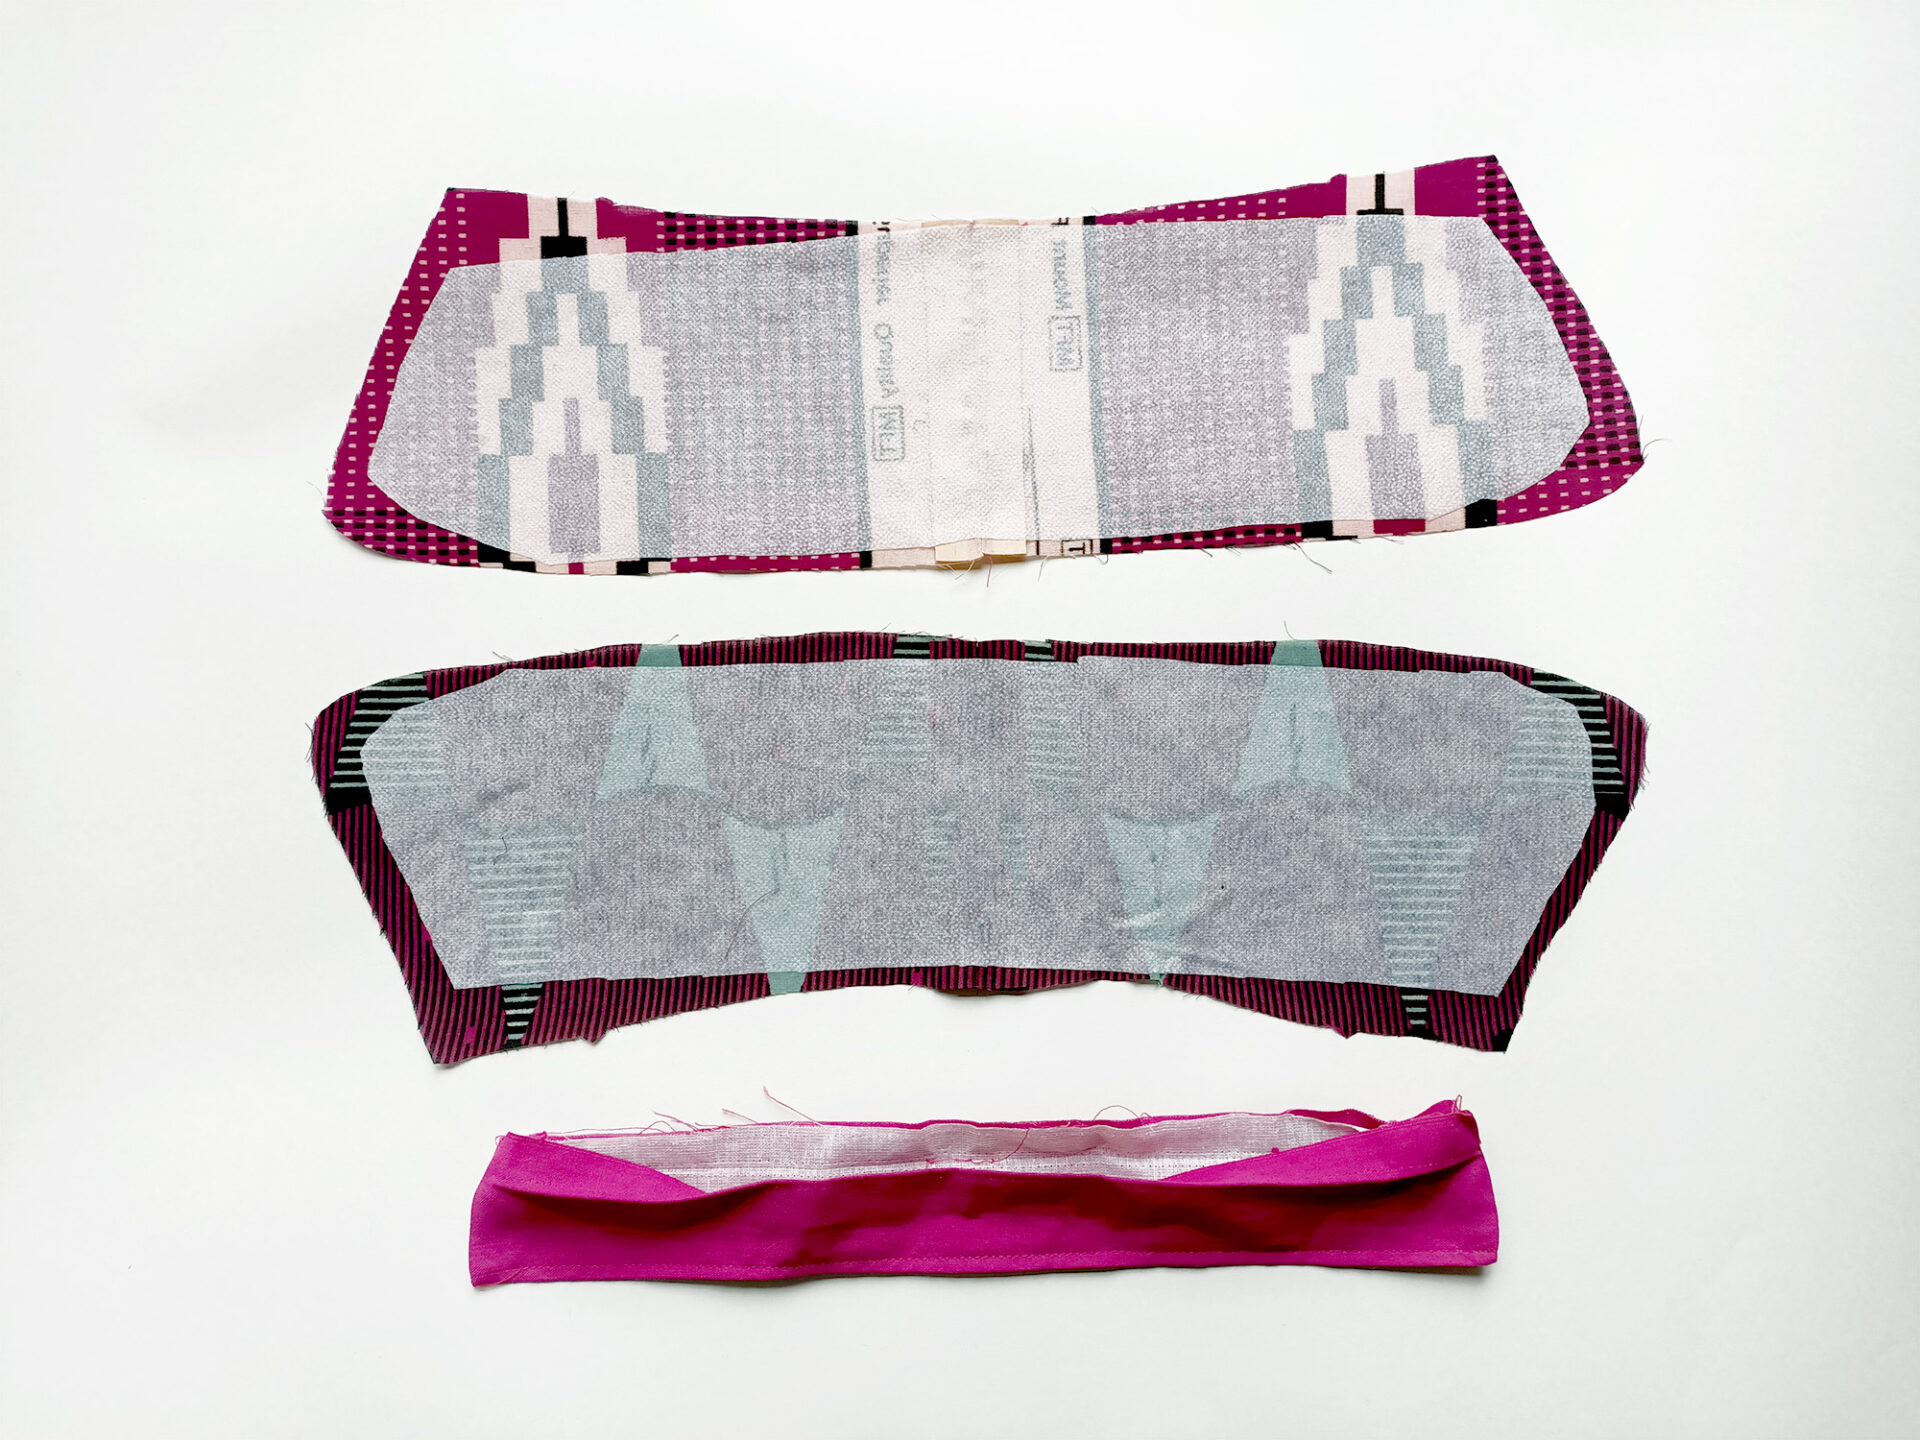
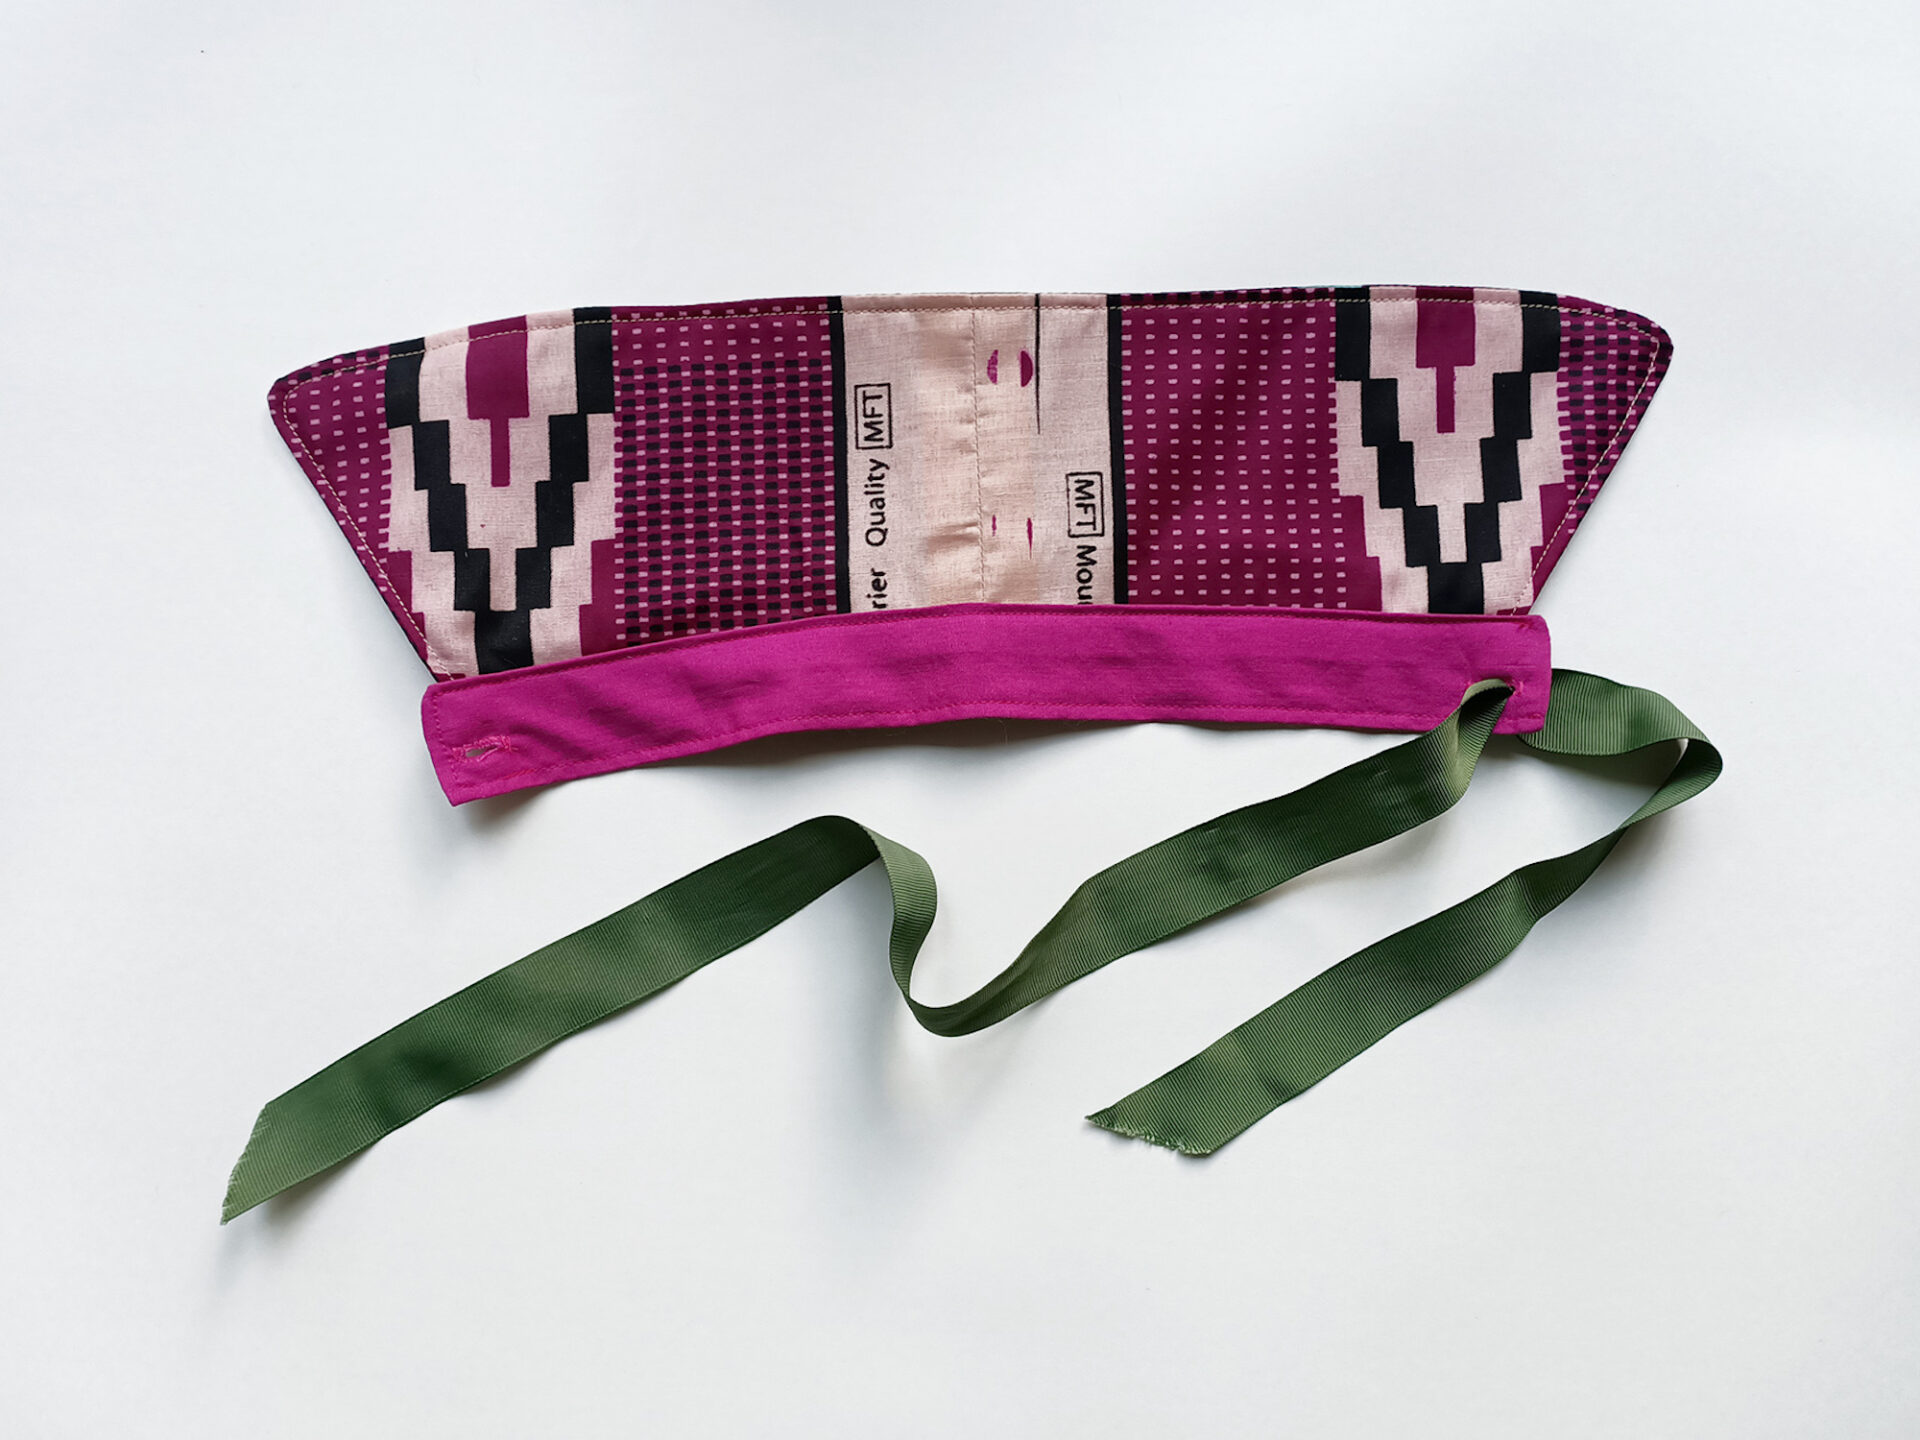
If using a commercial sewing pattern, follow the instructions given. Otherwise, cut out the two collar pieces from the fabric of your choice (if making a reversible collar, use two different fabrics) and apply interfacing to the wrong sides. Then place the pieces right sides together and sew all around the edges, leaving the short edge of the trapezium free. Turn the collar inside out and iron it. Sew around the outside edge.
It’s also possible to cheat a bit here by removing the neckband and collar section from a shirt and adapting it so it can be worn as a detachable collar. If you have a shirt that was destined for the rag bag, why not rescue the collar first?
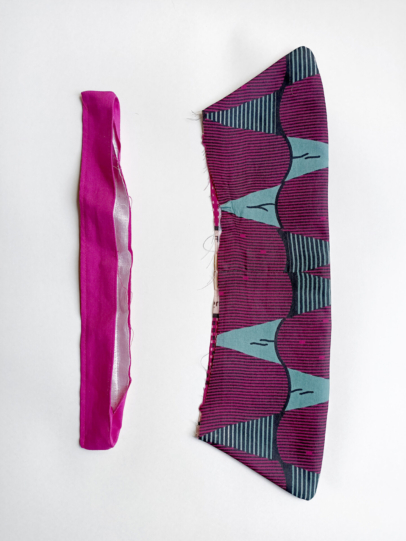
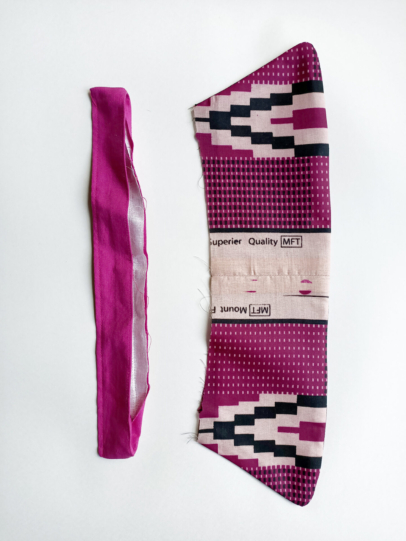
STEP TWO // Make the neckband.
Follow the instructions in the sewing pattern, or simply apply interfacing to the wrong side of the fabric, then fold it in half so that the right sides are together. Sew all around the edges, leaving one long side free. Turn the stand inside out and iron it, pressing the edges of the open side under (inside the neckband) by 1cm.
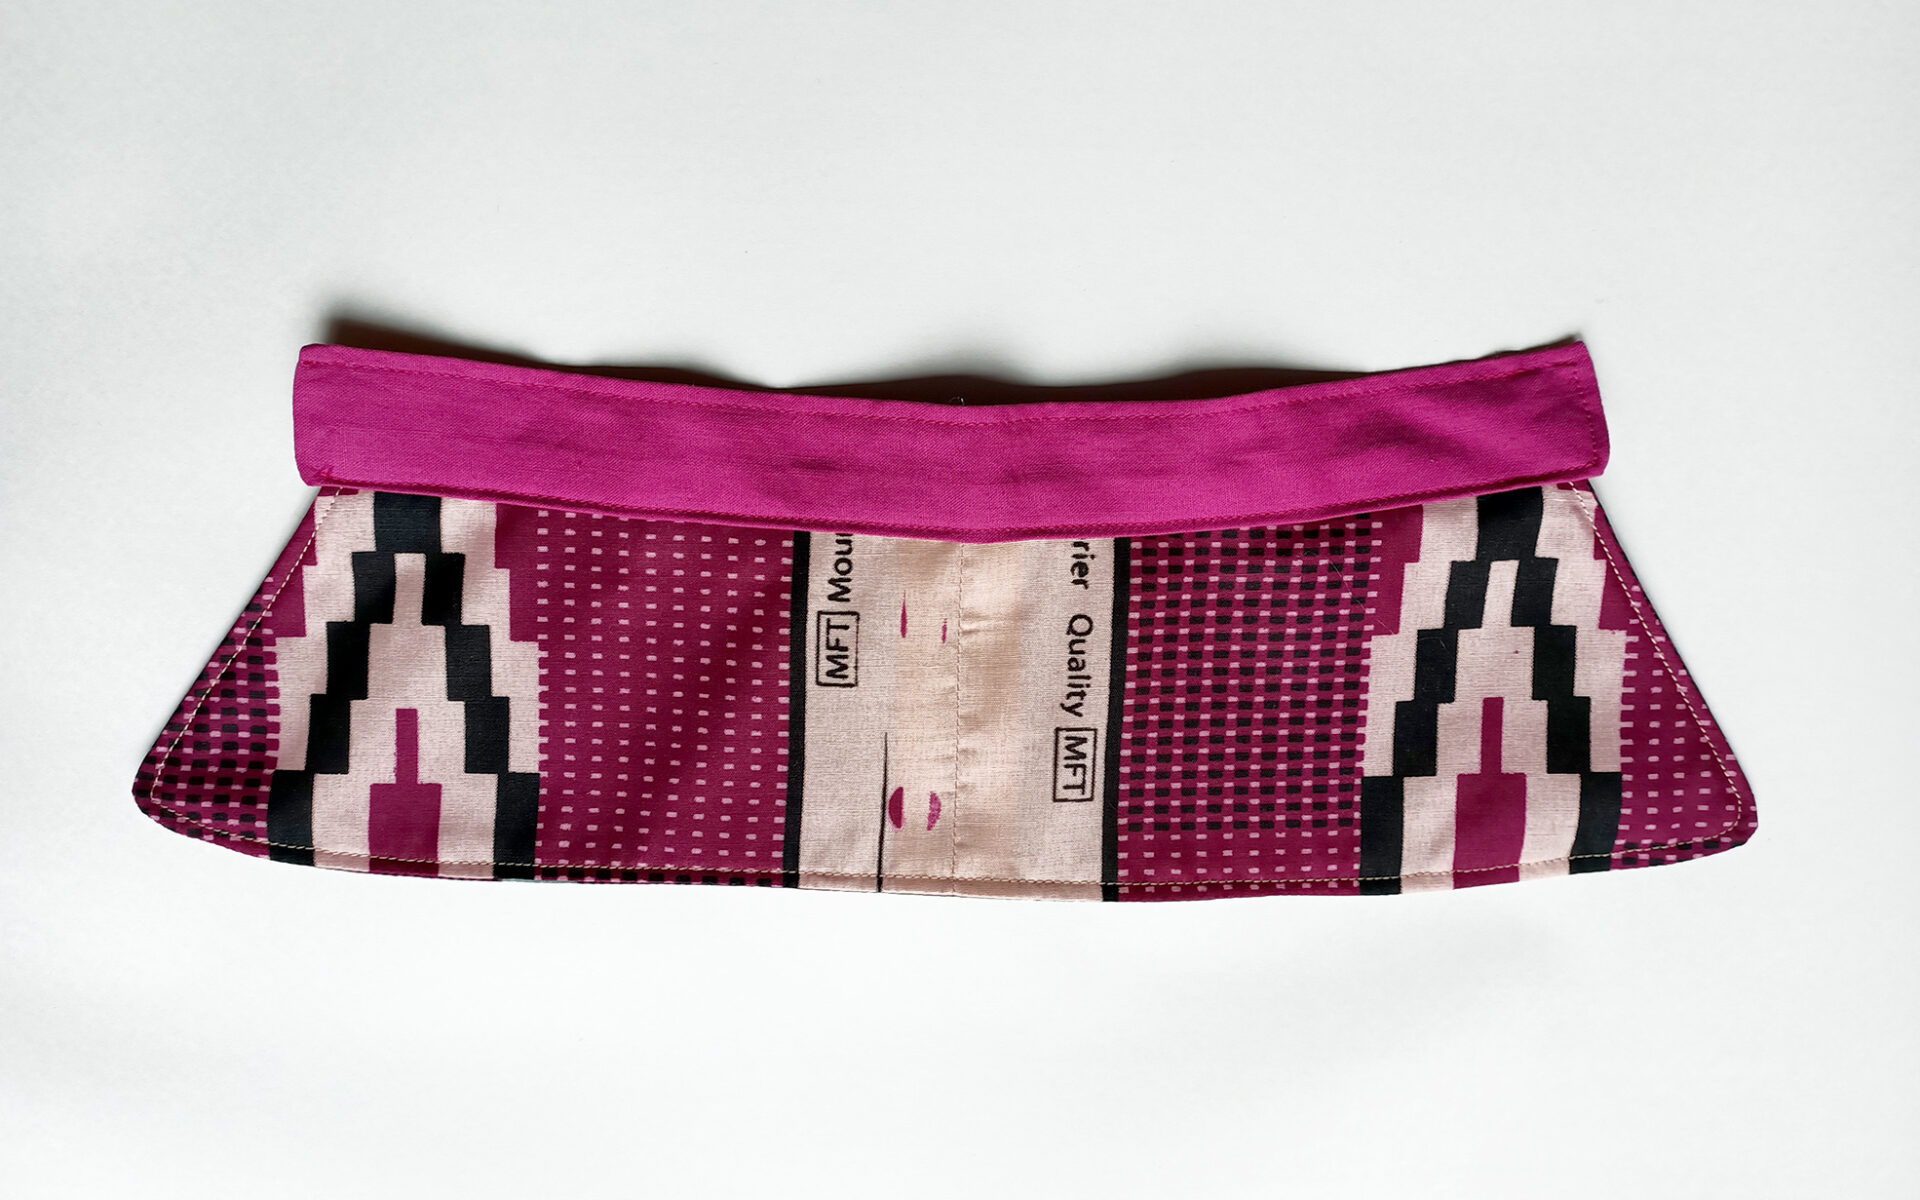
STEP THREE // Assemble the collar.
Insert the short edge of the collar into the open side of the neckband, matching the centres of the collar and band to make sure the pieces are distributed evenly. Sew along the edge of the stand to secure the collar, and around the entire stand if desired.

STEP FOUR // Make buttonholes in the band.
Mark 1.5cm lengths approximately 0.5-1cm from the edges of the neckband and sew buttonholes.

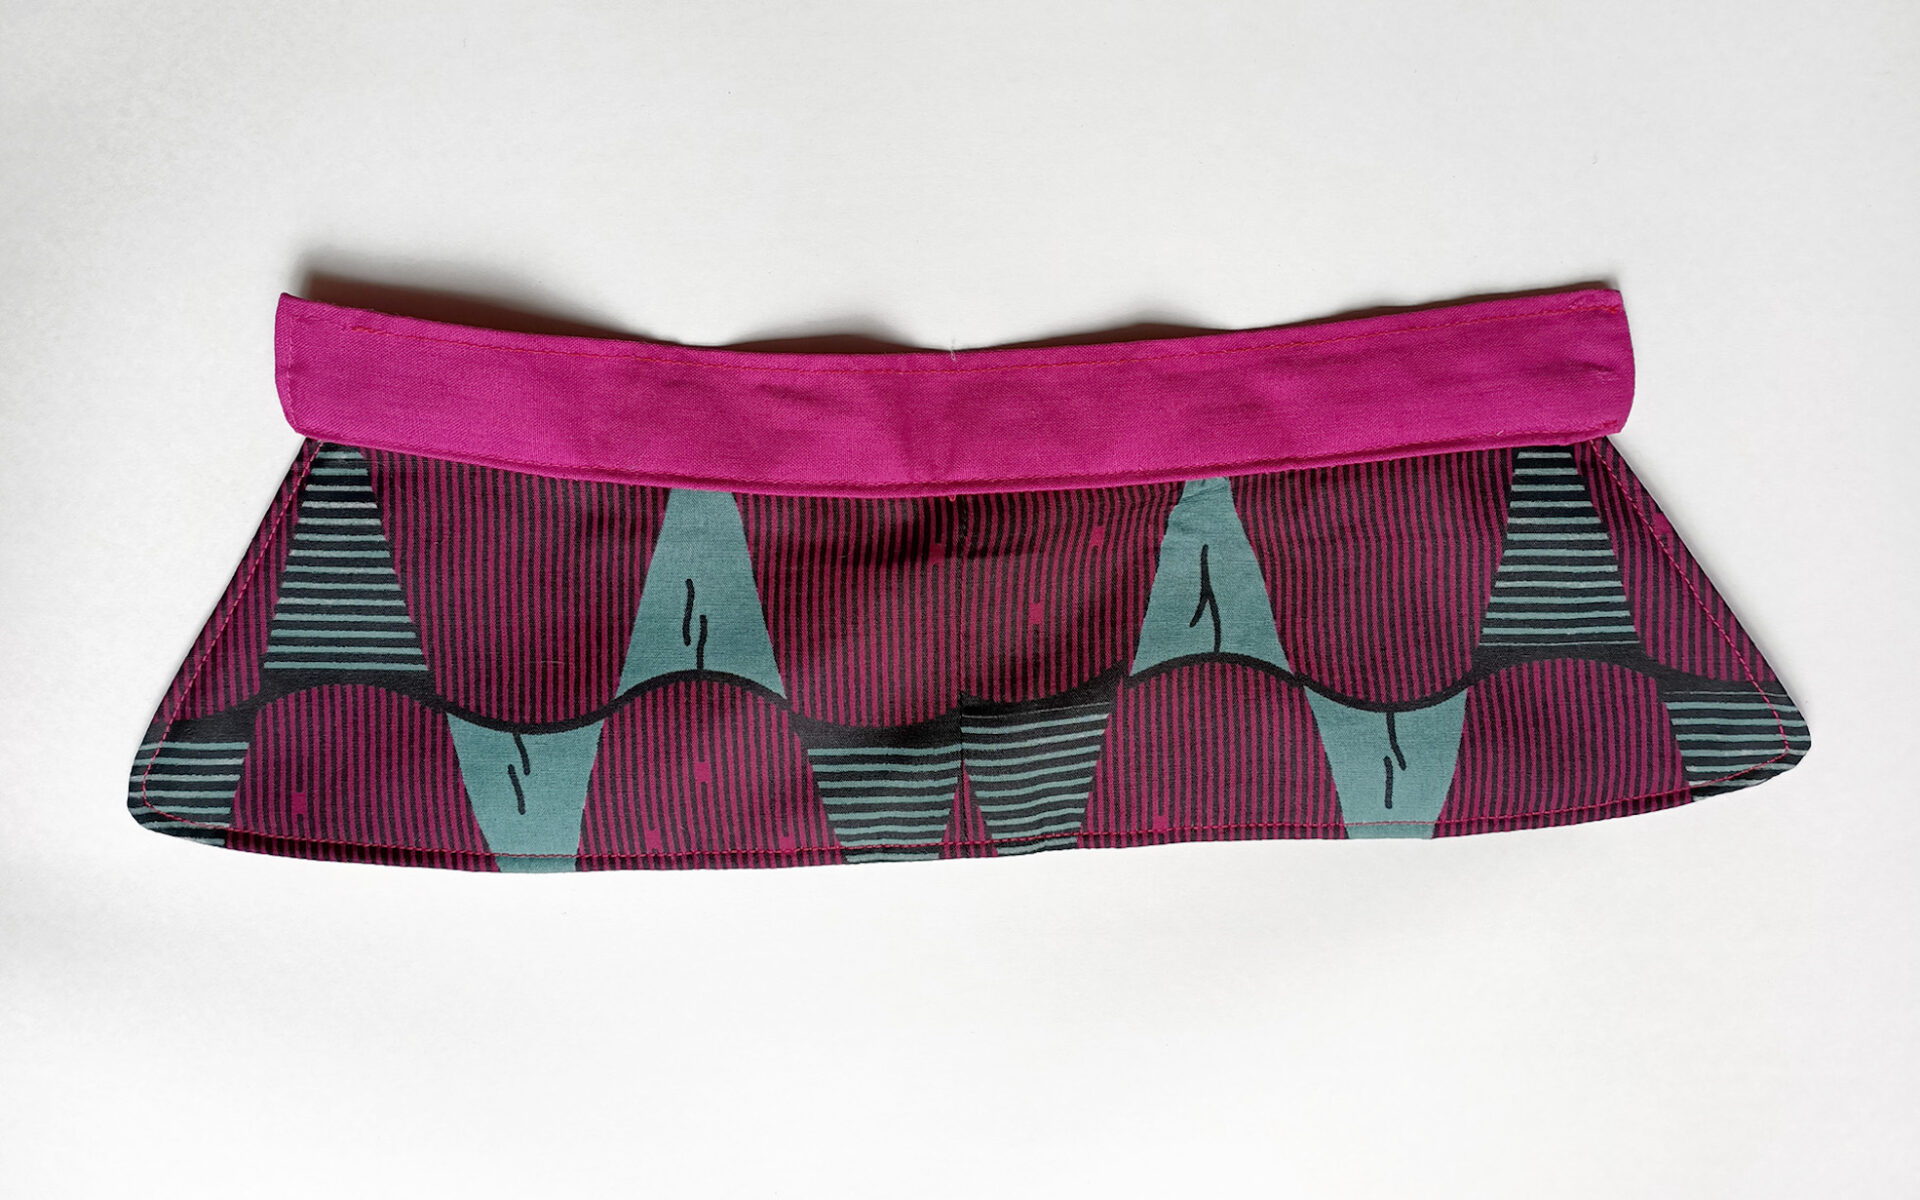
STEP FIVE // Thread ties through.
Thread the ribbon through the buttonholes and tie it in a bow or knot to fasten the collar at your neck, and you’re done!
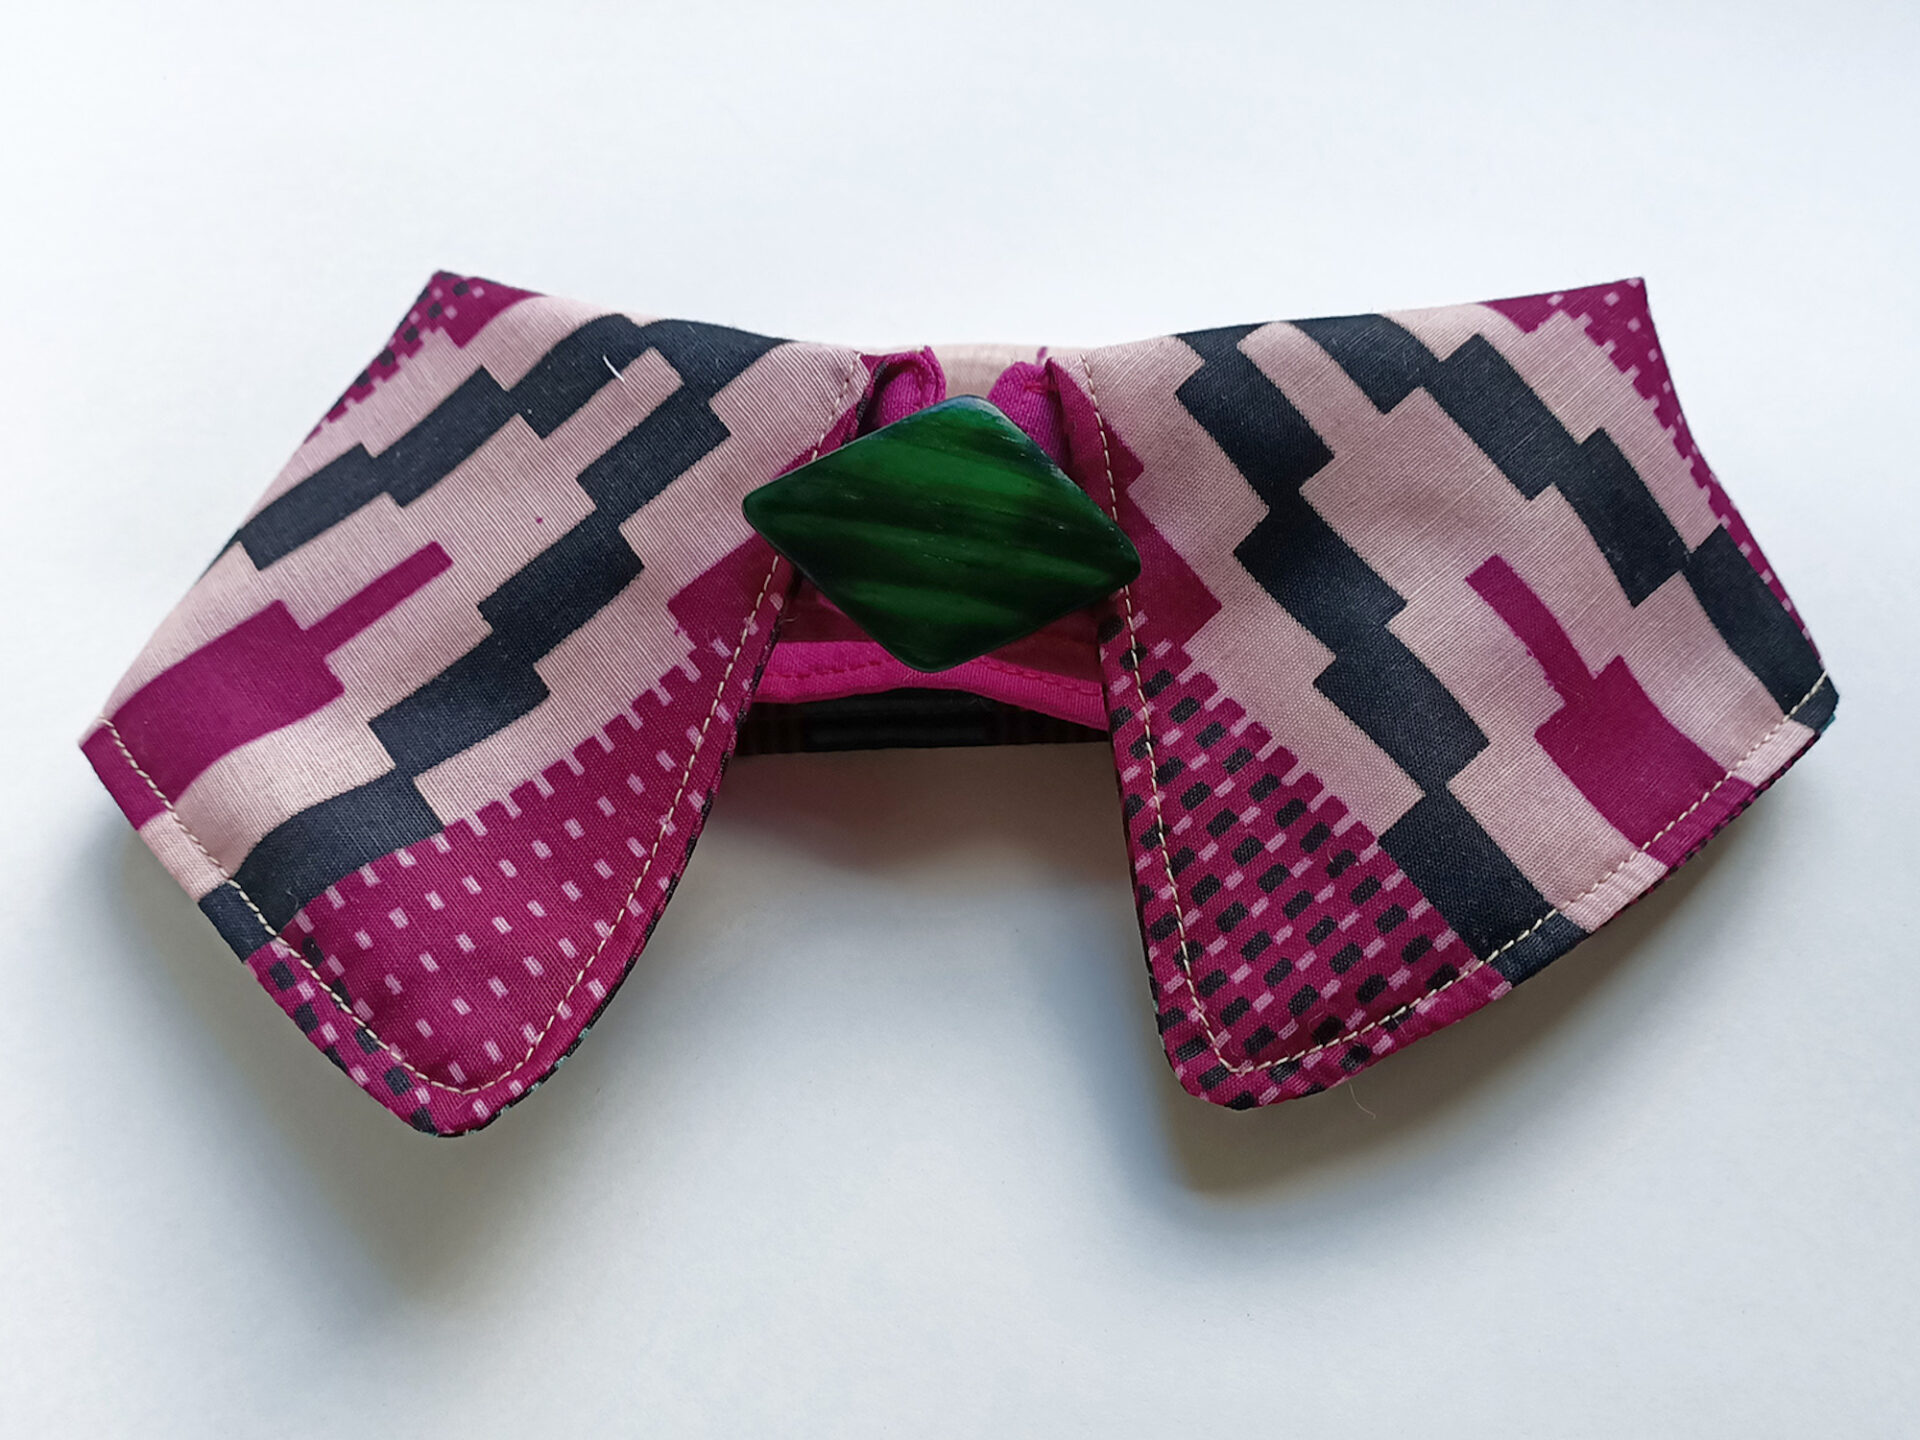
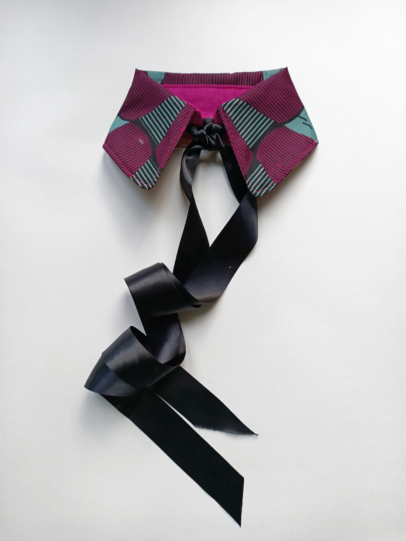
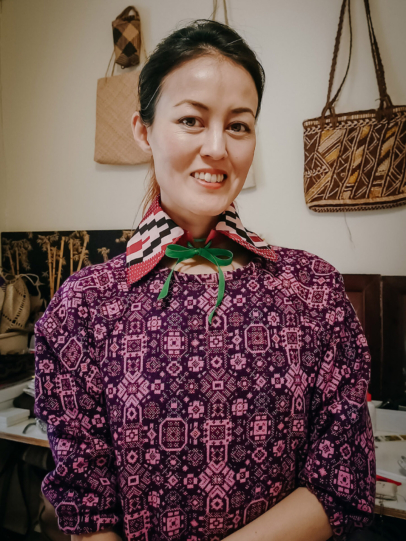
STEP SIX // Collar your world.
No doubt once you’ve made this, you’ll want to experiment with how to wear it. Not only is it reversible, but it takes on quite a different look depending on what is used to tie it. A long, wide satin ribbon makes for a big, glamorous bow with trailing ends, or try a colourful grosgrain ribbon in a shorter length for a neater effect. You could also experiment with threading leather thonging through for a Western-inspired look, using a light scarf to make a pussy bow, or taking things in an entirely different direction by fastening the collar with a kilt pin, brooch or large safety pins. It’s just one collar, but it opens up a world of styling possibilities.
FEELING CREATIVE? WHY NOT GET INSPIRED BY ALL OUR OTHER CRAFTY GOODNESS!


“My piece of advice for makers and designers? Run your own race… make sure your key decisions stay anchored in your brand’s core beliefs.”
- Bec Bligh
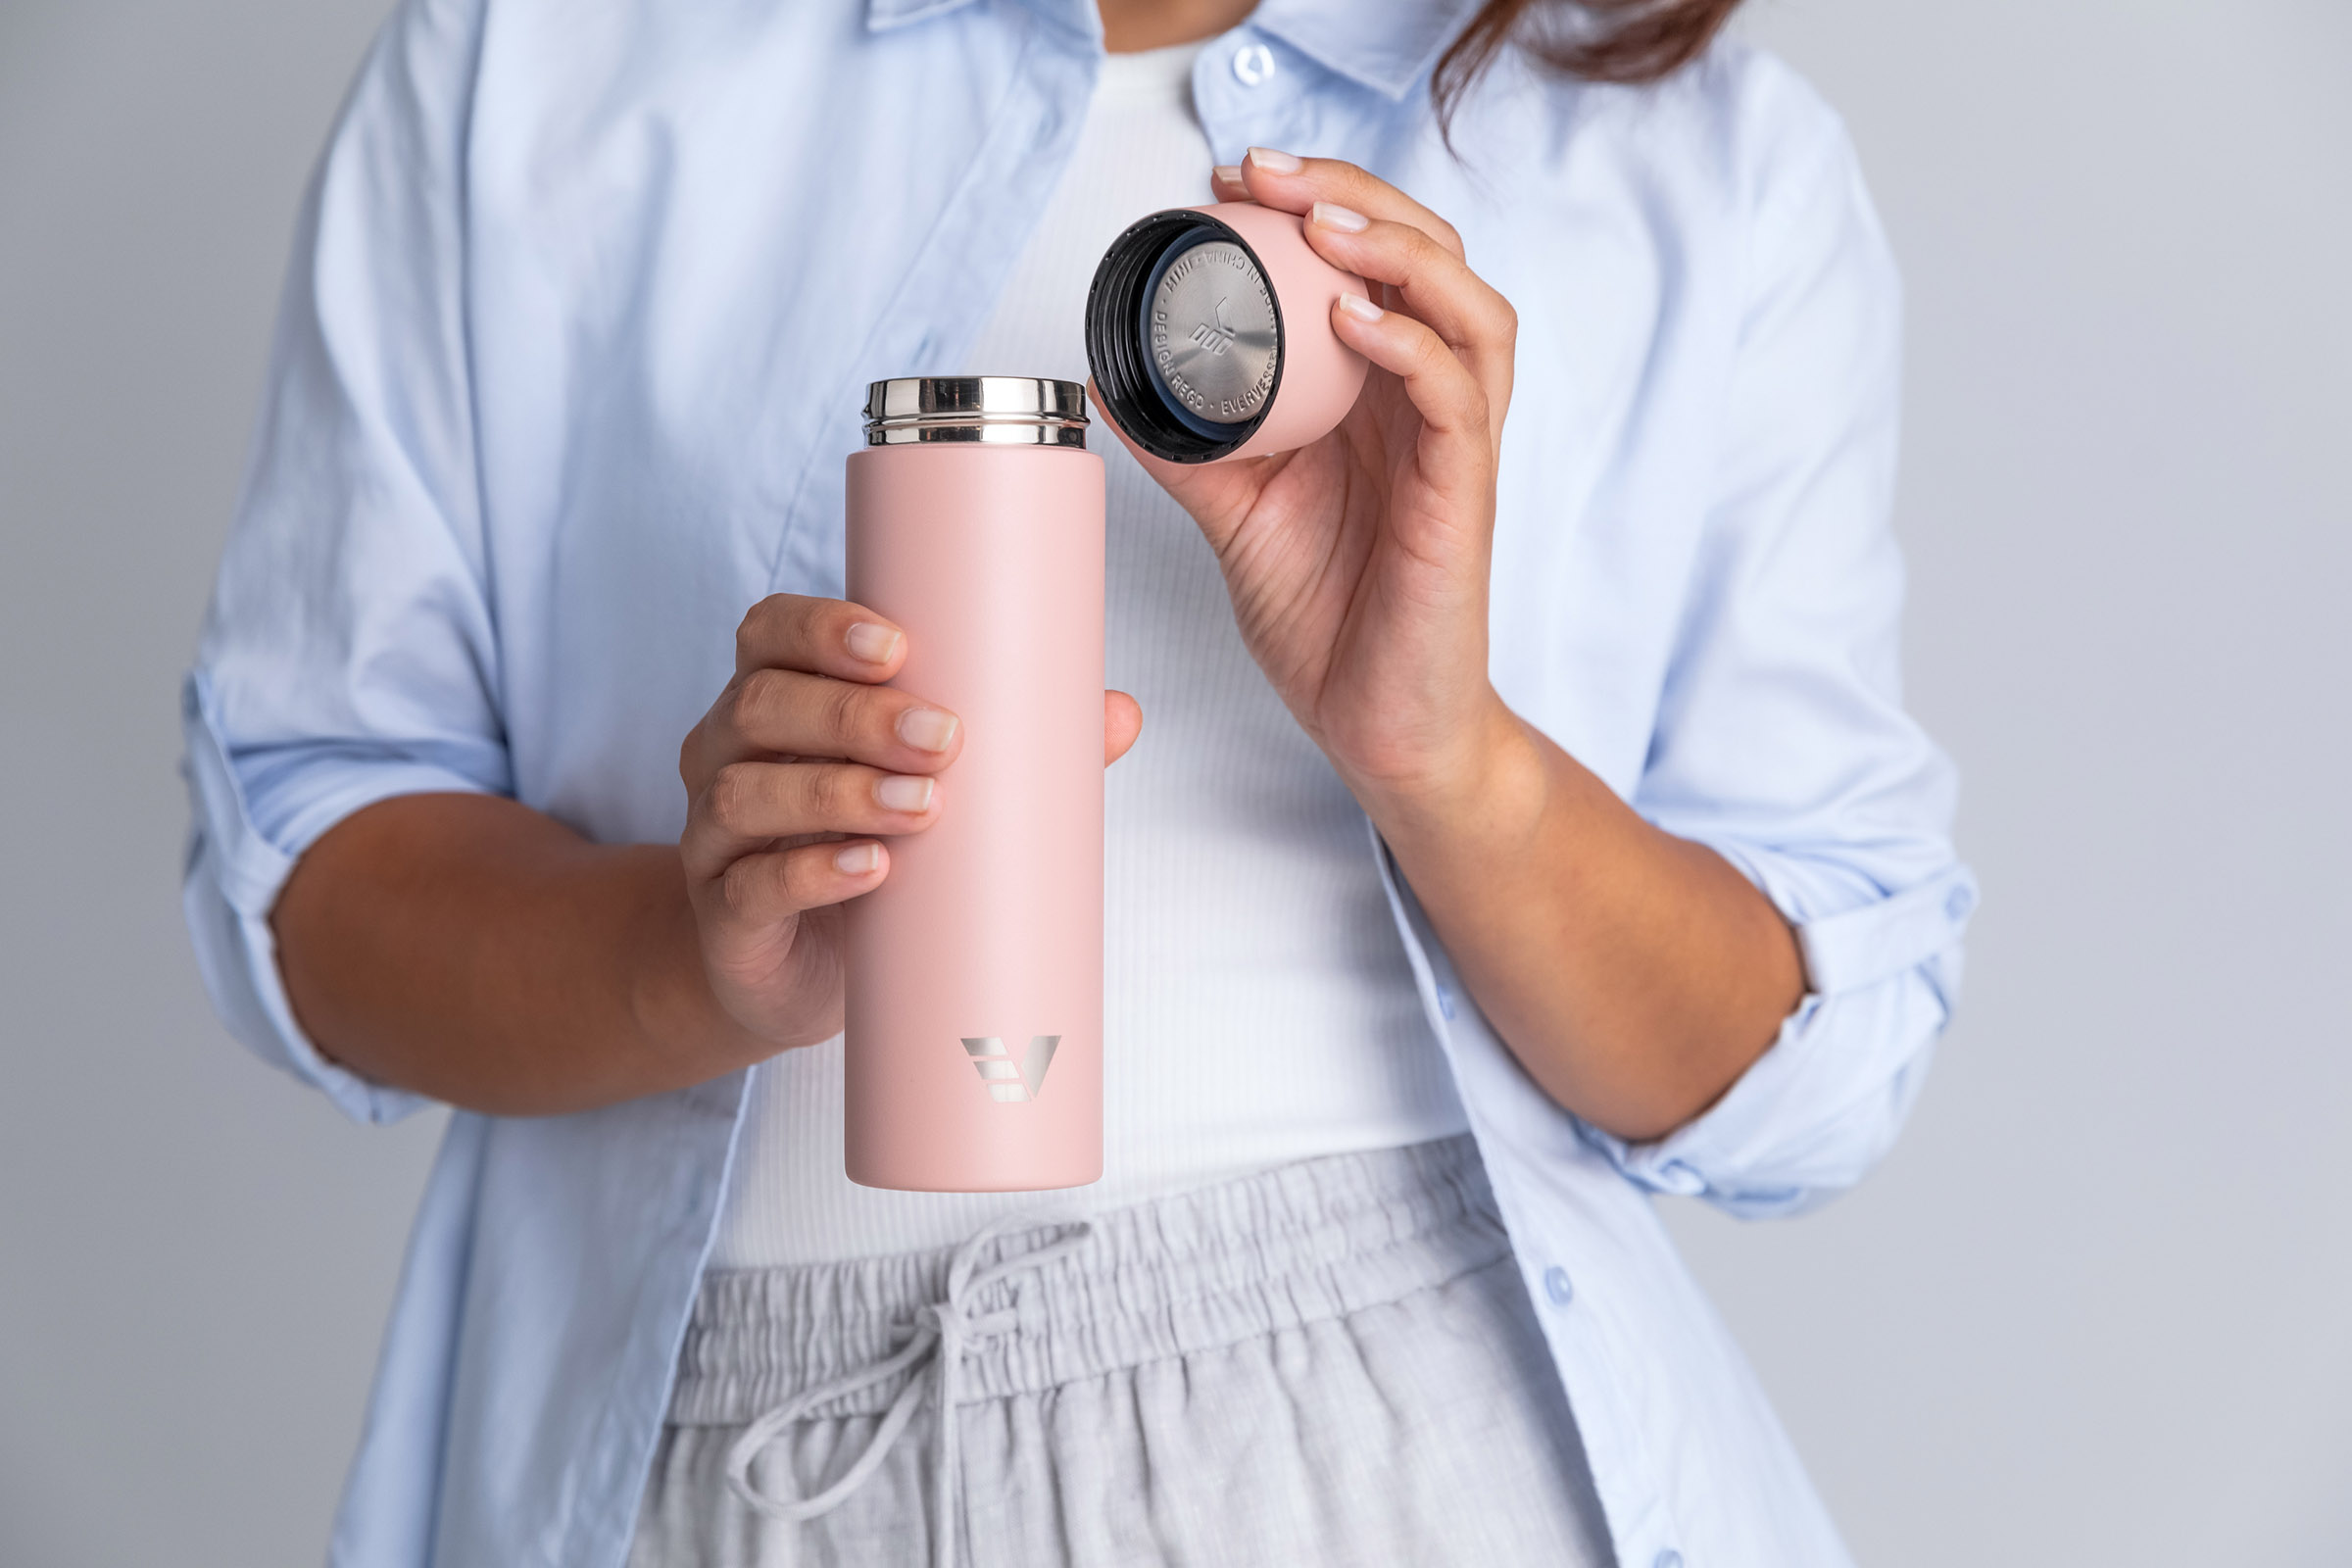
Quick show of hands: who’s opened a water bottle expecting a refreshing sip… and instead been greeted by the unmistakable whiff of uh-oh?
Because for something that follows us everywhere (desk, car, hikes, yoga…), the humble drink bottle is strangely prone to becoming a science experiment. Hard-to-clean corners and gaskets. Mystery smells. Bec Bligh and her husband Tim know it well. A six-month sailing trip along the Queensland coast left them with a lifetime of memories and one stubborn annoyance: mouldy water bottles they couldn’t properly clean.
So they did something about it.
Enter @EverVessel. Thoughtfully designed borosilicate glass and stainless steel bottles that keep things beautifully simple: durable materials, wide openings, easy-to-clean parts and none of the techy gimmicks that tend to age badly. Turns out simplicity, done well, is pretty powerful stuff. (Their many design awards agree!)
And lately they’ve added a little extra delight: the Artist Series, where creatives like Paola Castro, Ben Miners and Martin Thompson transform these everyday companions into tiny travelling artworks. There are more colabs in the works, too: hydration, but make it joyful! 🎨💧
We chatted with Bec about the sailing trip that started it all, the philosophy behind Ever Vessel, and why the most sustainable product is often just the one you keep using.
Tap the link in our bio to read the full conversation. 🚰
#EverVessel #ReusableWaterBottle

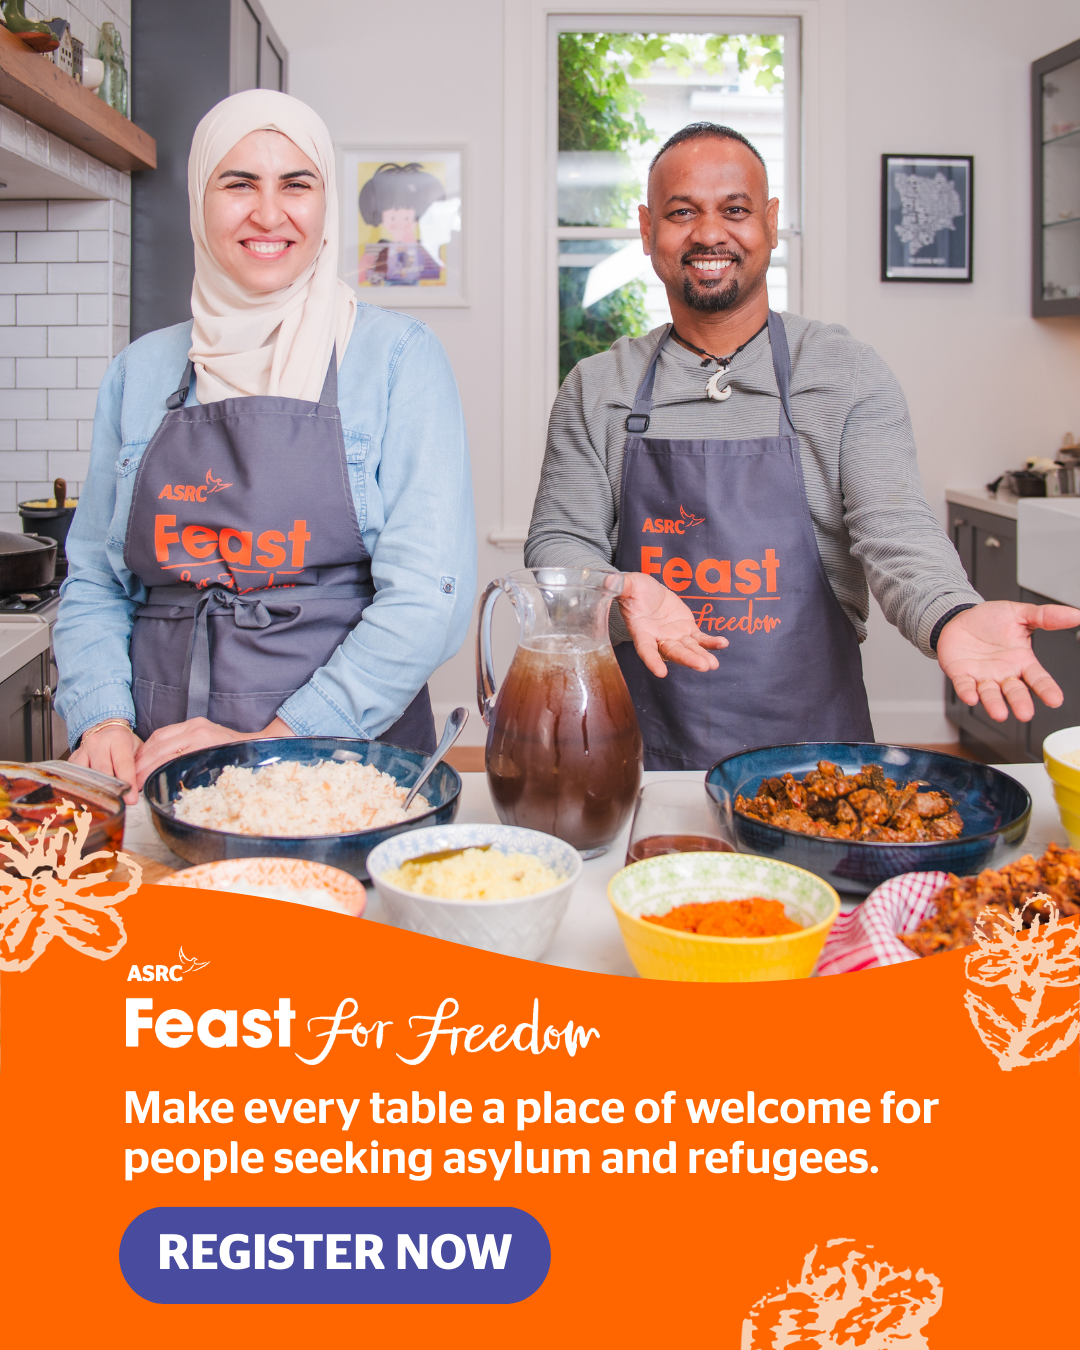
Pull up a chair… there’s room at this table!
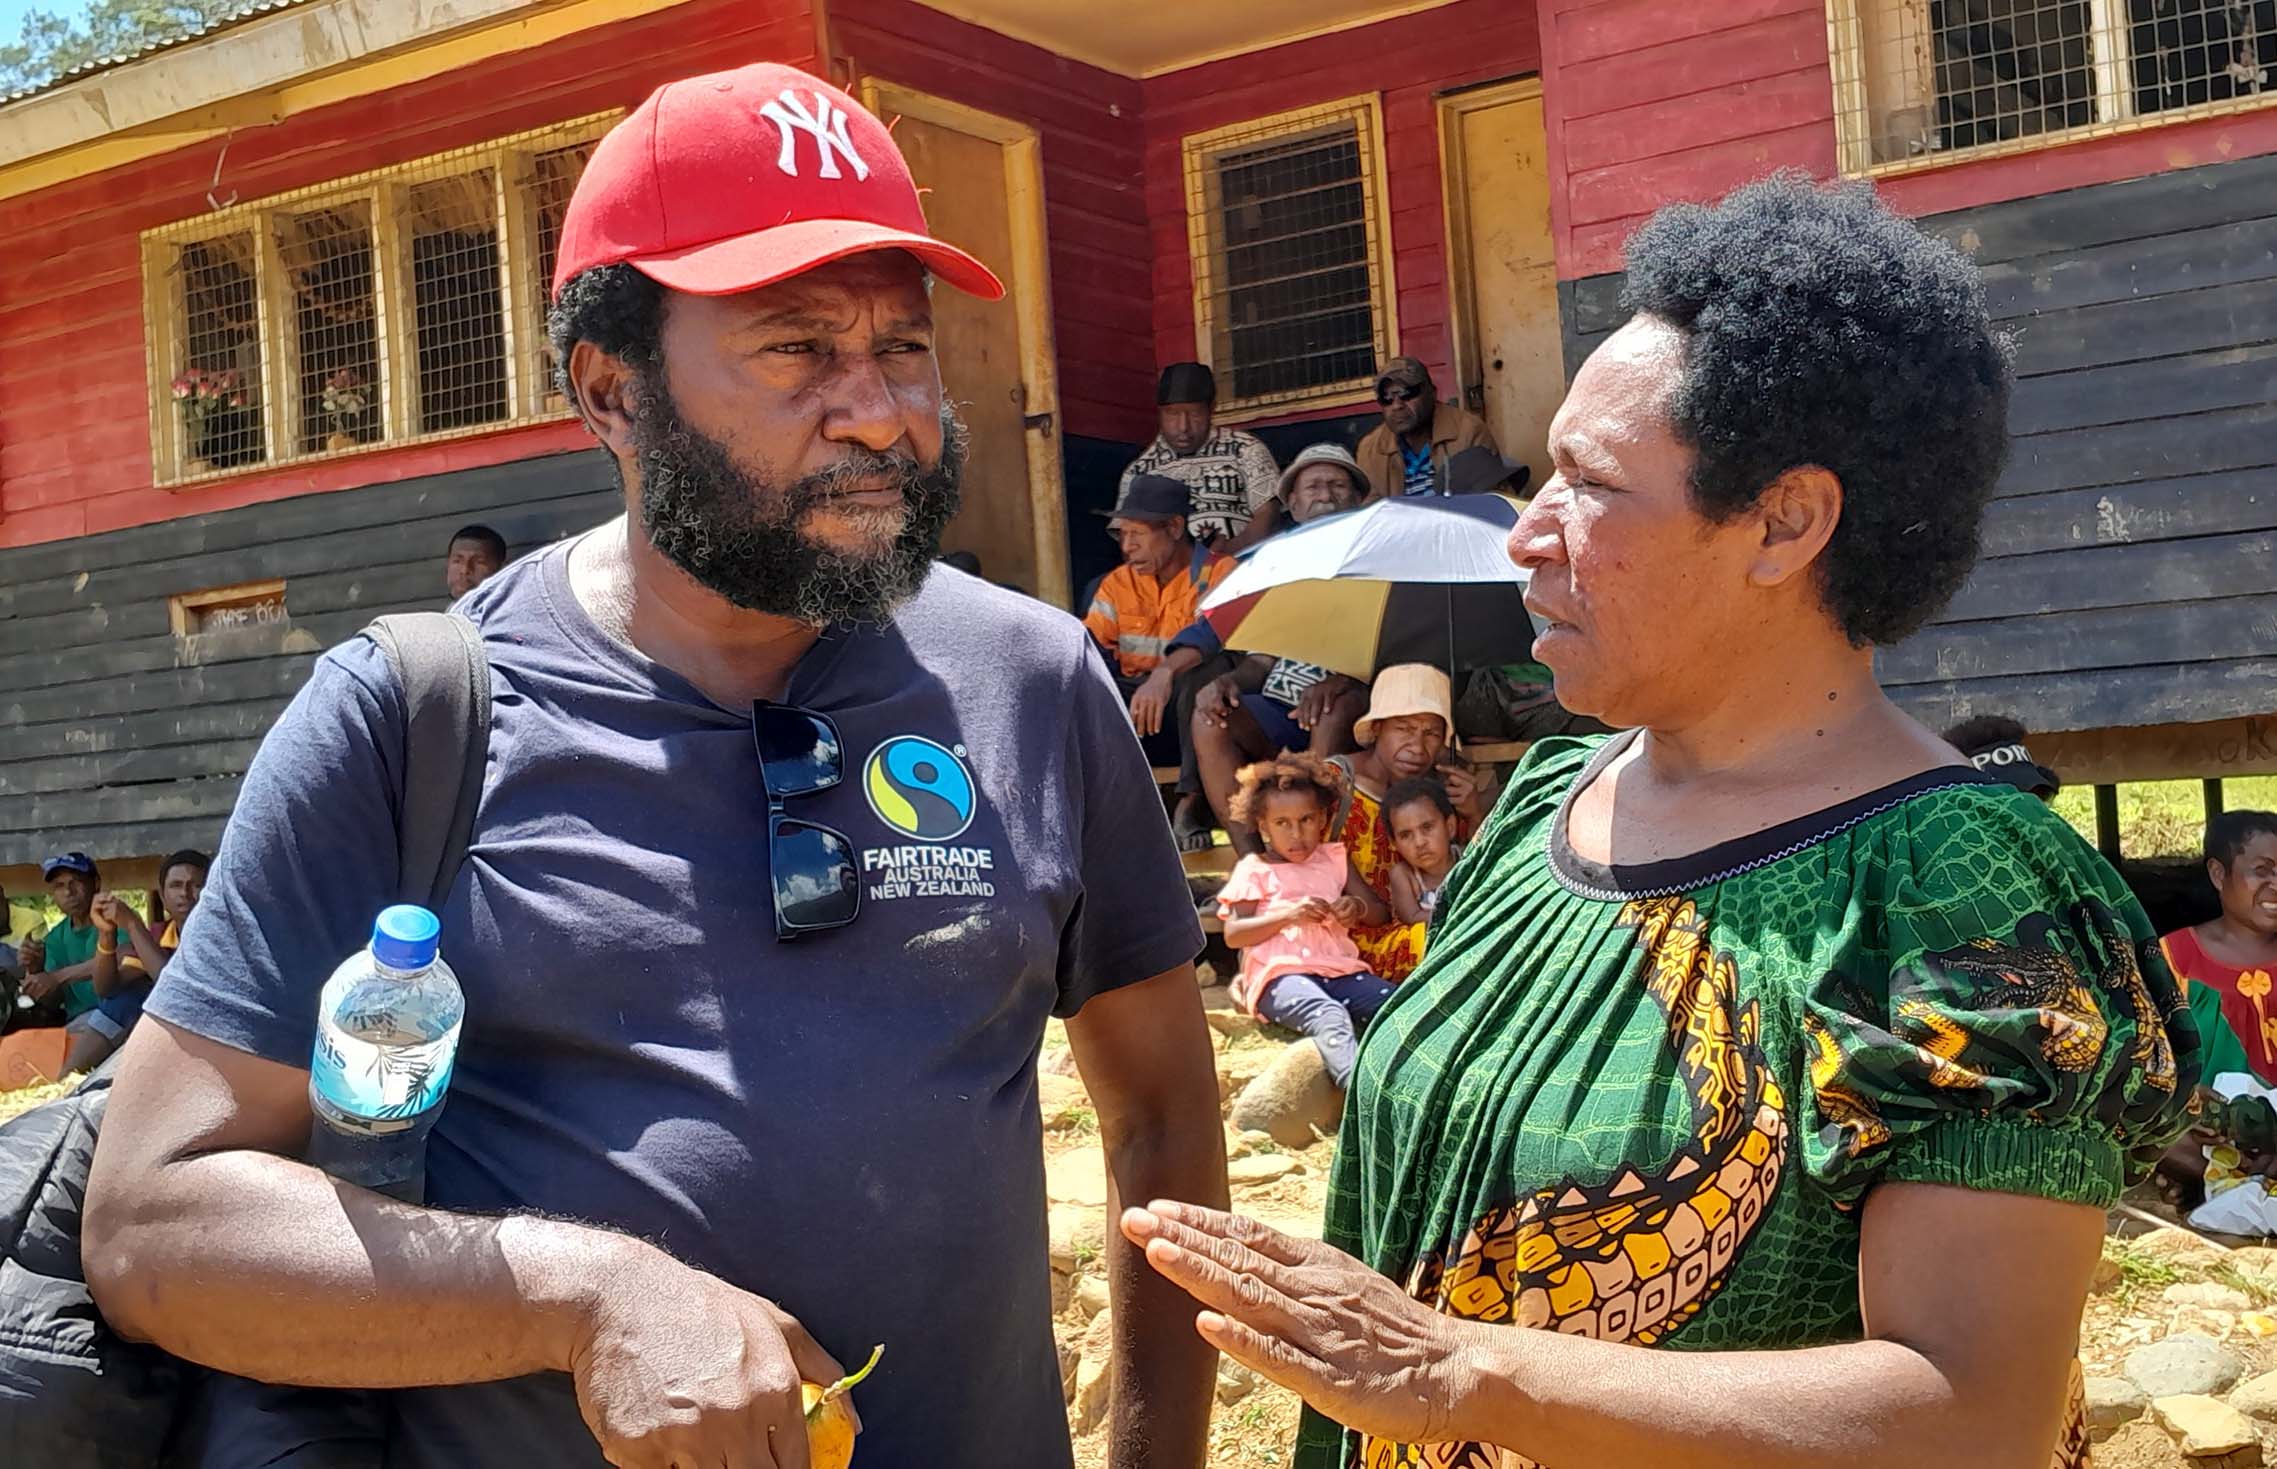
For the first time, Feast for Freedom is bringing people together for a spectacular long-table dinner as part of the Melbourne Food & Wine Festival.
A Longer Table is exactly what it sounds like: one beautiful shared table inside the Asylum Seeker Resource Centre (@Asrc1), piled with generous dishes inspired by this year’s hero cooks, Noha and Nige.
From 6 to 9pm on Wednesday, 25 March, this is what you can expect:
🍽 A three-course shared feast
🍷 Matched drinks
🎶 Live entertainment
✨ A room full of good humans
Your ticket doesn’t just buy you a delicious dinner. It supports the ASRC’s vital work and helps create a fairer future for people seeking asylum.
Seats are limited, and long tables have a way of filling up quickly – head to @MelbFoodAndWine’s website to book now: feastforfreedom.org.au/mfwf
#FeastForFreedom #MelbourneFoodAndWineFestival #LongTableDinner #FoodForChange
Sew versatile! 🪡
Another great make from Lisa from @SunnySewsEveryday:
My #PeppermintWaratahWrapDress is finished and I’m so proud of it. It has been designed not to flap open and flash your pants in the wind, so I feel confident it will be a great wheelchair or standing dress in English weather.
#PeppermintPatterns #WrapDress #WrapDressPattern
Frame your face with the Peppermint Bucket Hat!
Stay safe and stylish in the sun with your very own self-sewn and self-drafted wide-brimmed bucket hat. This beginner-friendly sew is perfect for a sunny day. Get out your pencils – this pattern is created using equations and maths!
This DIY project was featured in Issue 53 and now you can access it for the lovely low price of only $5.
Sun-safe chic is always in style. ☀️
Find it via the link in our bio!
Photos: @KelleySheenan
#PeppermintPatterns #PeppermintBucketHat #BucketHat #BucketHatPattern #DIY
✨ INSTANT CLASSIC ✨
The Peppermint Myrtle Shift Dress is a beginner-friendly make with a few special details based on the ever-stylish shift shape – the perfect dress you need in your wardrobe right now!
Myrtle cuts above the knee with options to customise the length. Don’t think she’s reserved for hot weather either: try a heavier-weight fabric to turn your Myrtle into a pinafore-style garment for layering.
For our fabrics we chose two from our lovely sewing partner @Karmme_Apparel – the bold Rottnest Stripes in a lightweight, soft-drape cotton, and the quality linen in the handpainted Mexico Collection.
Get making the Myrtle – the only question is, can you stop at just one?
Link in bio 🪡
Fabric: @Karmme_Apparel
Sewist: @Laura_The_Maker
Photos: @KelleySheenan
Models: @SerahSews and @Pins_And_Tonic
Location: @ShareTheDignityAustralia
#PeppermintMyrtleShiftDress #PeppermintPatterns
It’s time to Feast!
Some recipes travel a long way before they land on your table to delight your taste buds. This year’s Feast for Freedom invites us to gather our friends, cook something delectable and raise funds for the incredible work of the Asylum Seeker Resource Centre (@Asrc1) while we’re at it.
The 2026 Feast features recipes shared by two remarkable cooks: Noha, who brought the flavours of Palestine with her when she arrived in Australia, and Nige, a Sri-Lankan Tamil cook whose journey with food began in the most unexpected of places.
You can host your own Feast up until 30 April – simply register online and get planning! Host a dinner, organise a workplace lunch, or gather your community… However you do it, the idea is simple: cook, connect and celebrate the cultures and stories that shape Australia.
Want to find out more? Head to the link in bio to meet Noha and Nige, learn more about their stories, and discover a delicious recipe to try.
#FeastForFreedom #PeppermintMagazine #FoodForGood #ASRC